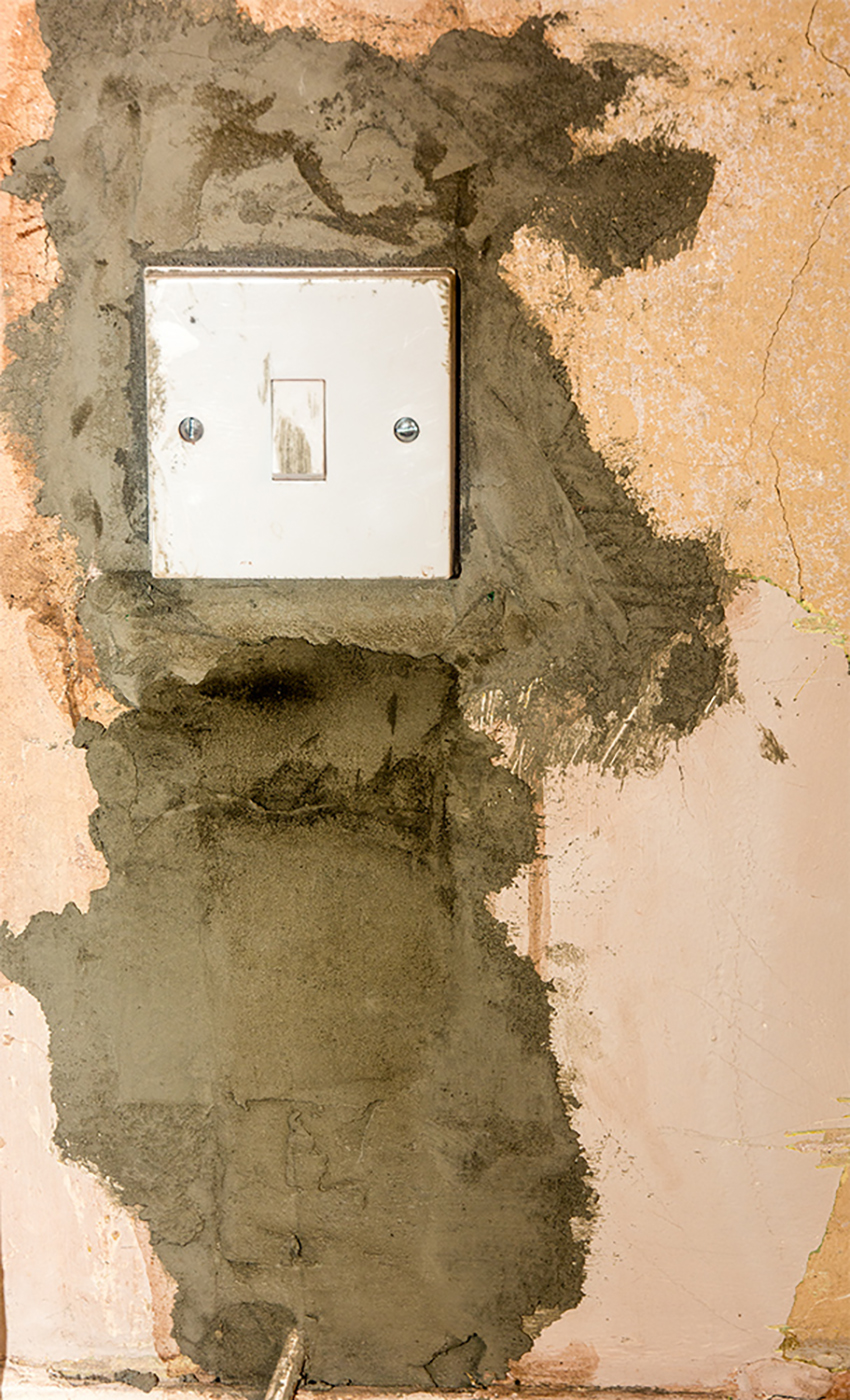
It doesn't look like much, but at least the heater socket is now cemented in, yes it needs sanding down before I plaster it. As do all the other areas I have/am cementing in.
Like the previous light switch chase that I had cemented I was using quick drying mortar, and when it says quick drying it really is quick drying, after about 5 minutes what I'd mixed had already started to harden, so as before I had to keep adding water to maintain it in such a state that I could apply it and fill in the hole(s).
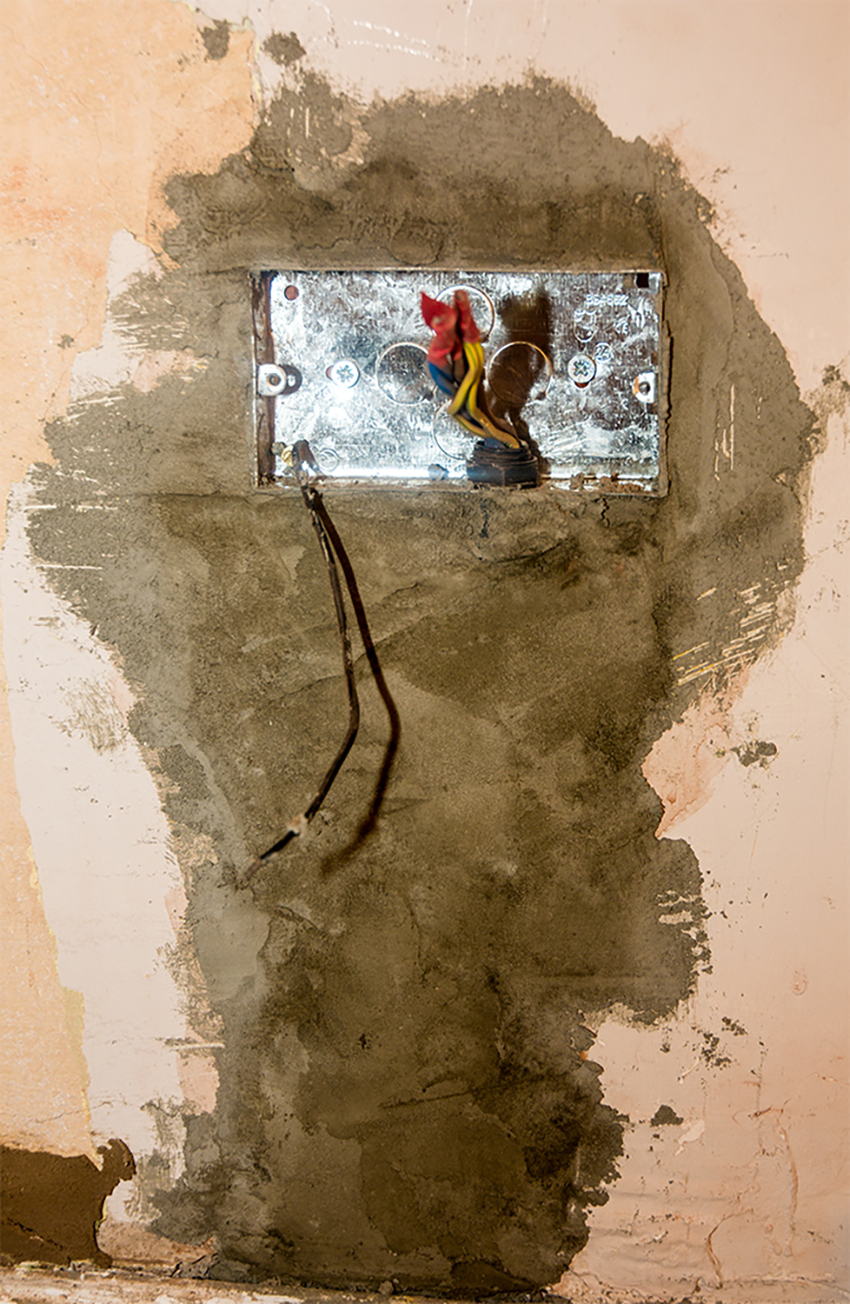
Again as with the heater switch, this wasn't too hard to fill in, just the chase was wider than necessary and in some places quite deep, so I ended up using quite a lot of cement, and like before it needs sanding down before I come to plaster over the cement.
Trying to get as much done while I am on holiday, and before my kids come to stay again, wouldn't be good to have exposed wiring when there are children in the room, so at the very least I will have made sure the cementing is done(check) and that the appropriate light switches and socket covers are fitted, and I've tested them to ensure that they are safe and not live i.e. touching one of the screws that hold the switch/socket in place isn't conducting electricity.
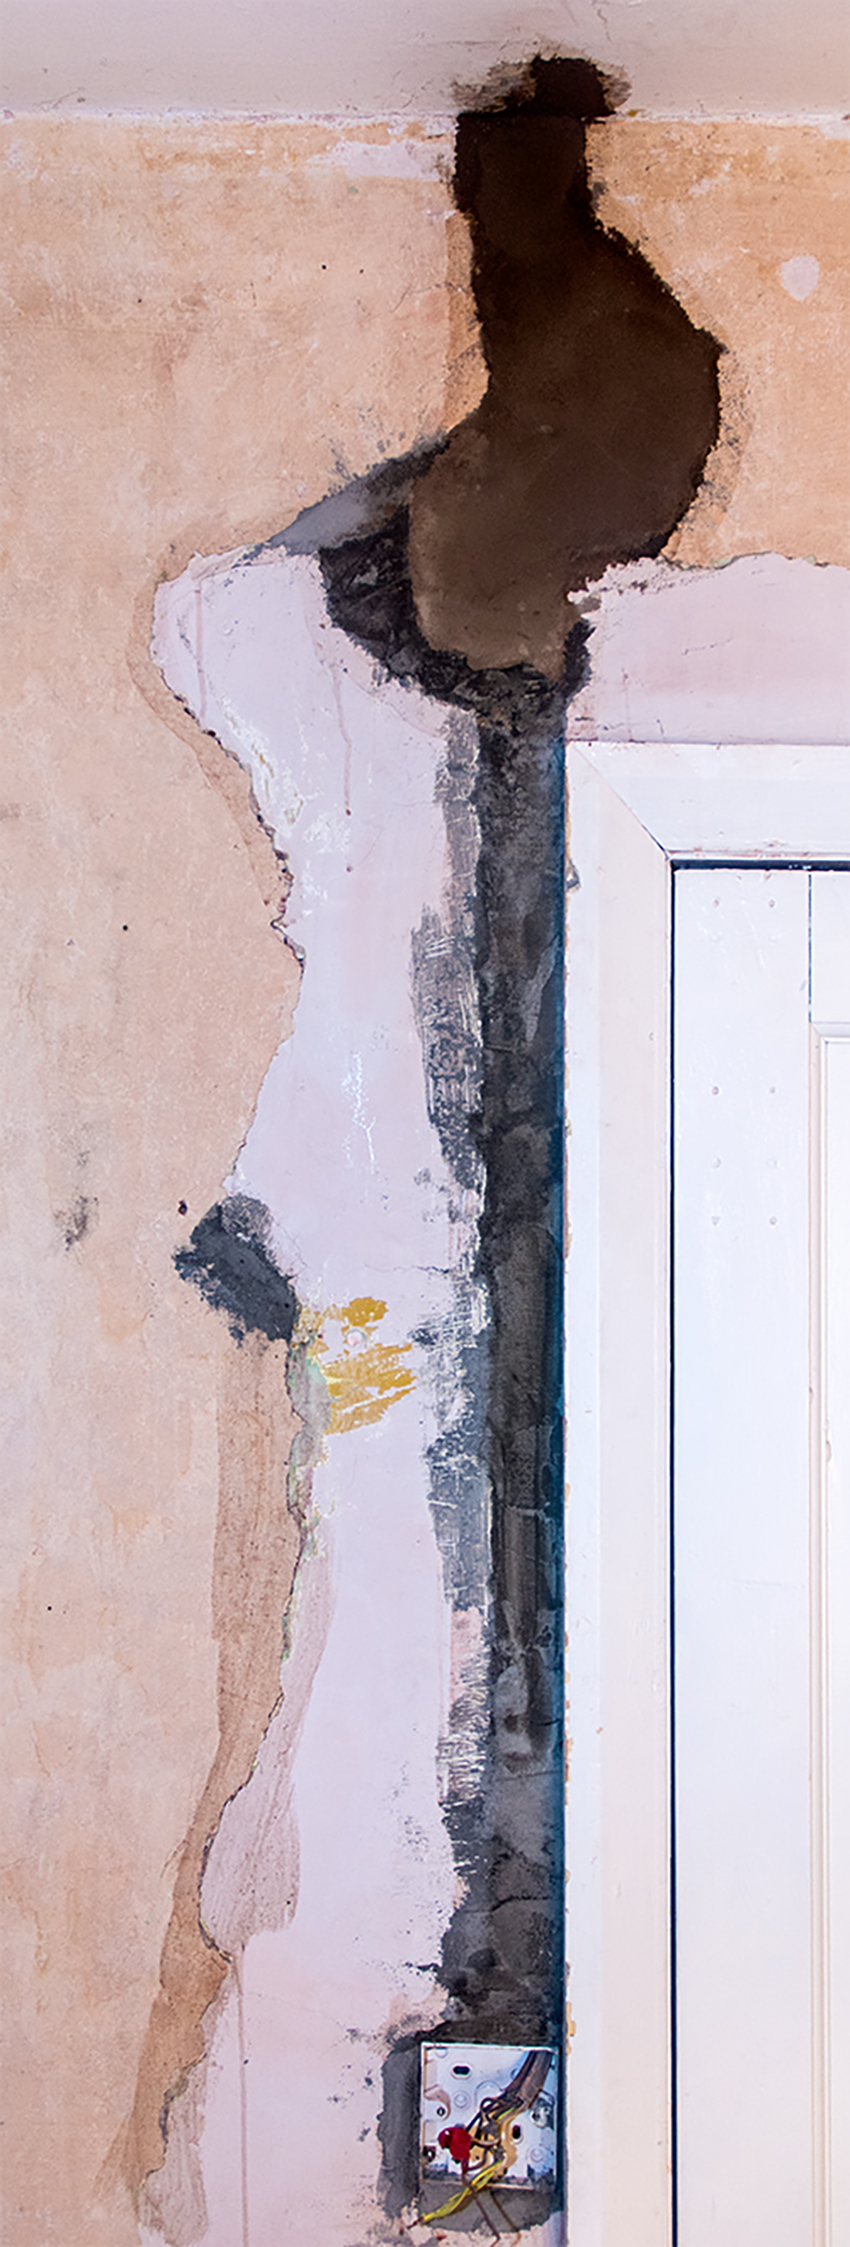
This was a nightmare to do, not only was it quite deep, there is also the fact that it cut into the door frame, so I ended up using a lot of cement to fill in the deep chase, and also make sure it was flush with the door frame and there was no gap between the surface of the cement and the back edge of the door frame.
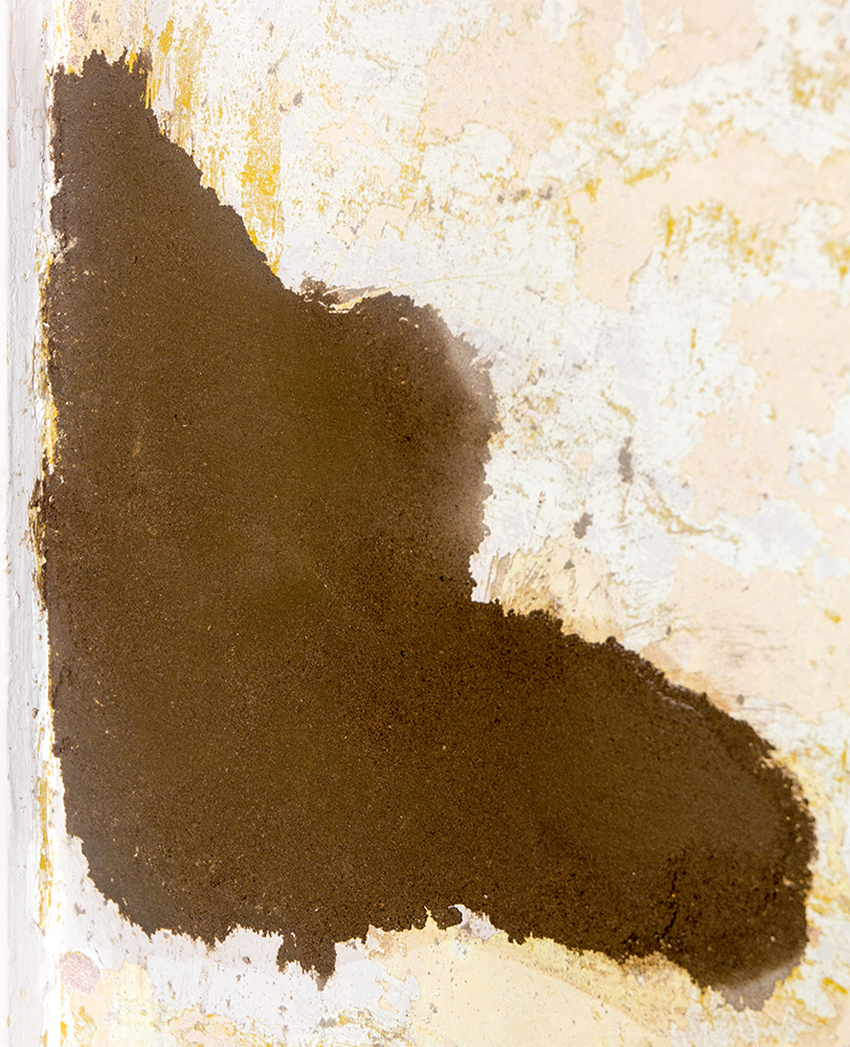
You'll notice a subtle (well not really that subtle) change in the colour of the cement towards the top of the wall, due to changing from quick drying mortar to a more traditional mortar, which didn't need to be watered down every few minutes and was much easier to work with, not only that it's a lot cheaper than quick drying cement. A 20KG bag of the ordinary mortar mix costs about the same as a 6KG bag of quick drying mortar.
This wasn't too hard to do, except it is/was very deep. I thought I could fill it all in, in one go, but sadly very much mistaken, trying to get 1-2 inches in depth of cement onto the wall at once was just way too much, so I had to scale back my ambitions a bit, and was only able to fill the hole to about half the depth that the hole is, filling the rest would have to wait for the cement to dry.
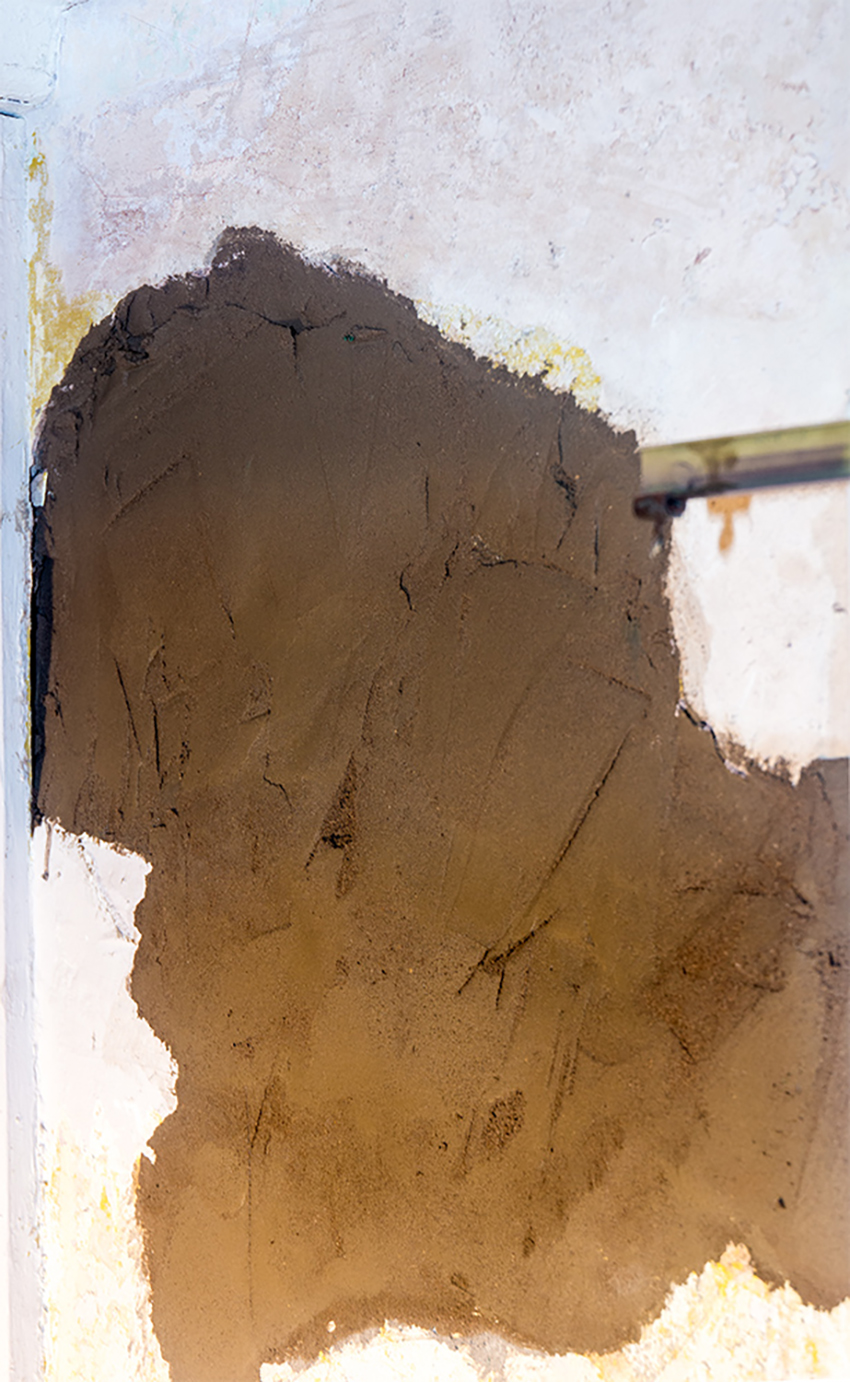
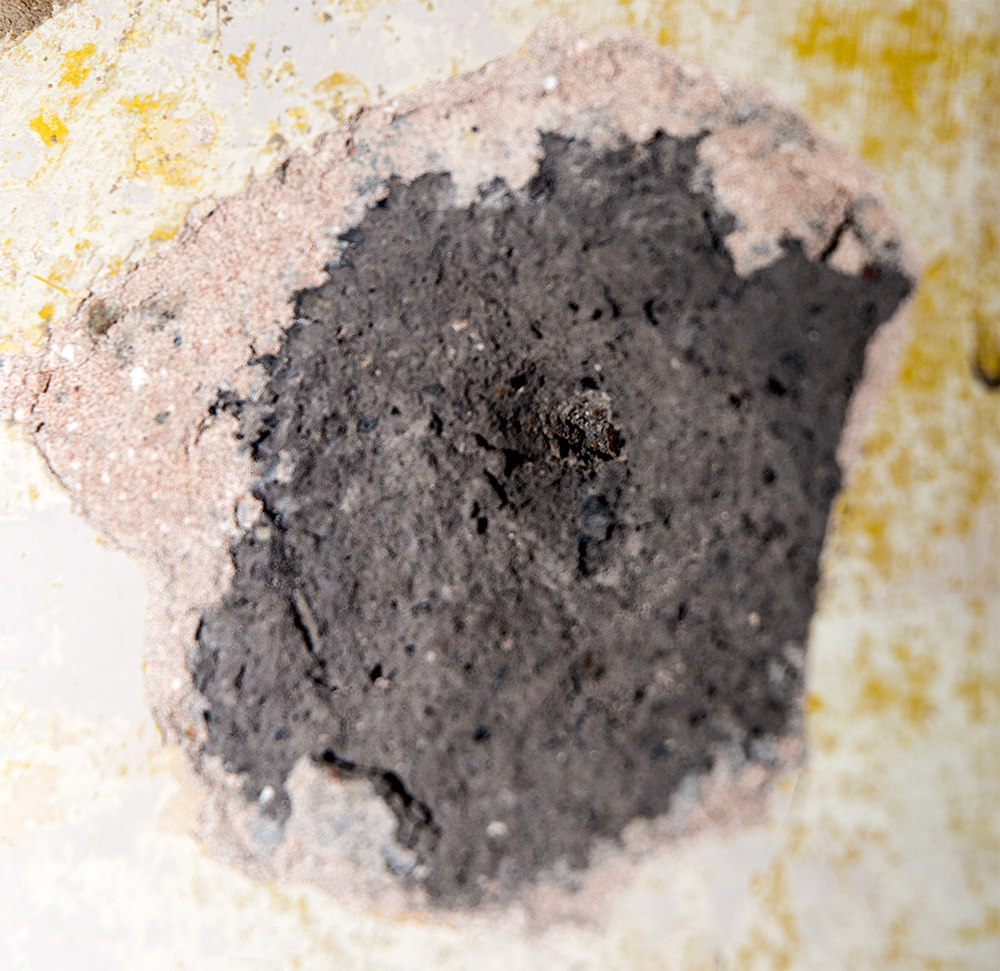
Now this one on the other hand I was able to do in one go, OK it's much smaller than the one before, it was also much shallower so I was able to fill it in all in one go, still like all the ones before it needs to be sanded down before I get to apply the plaster, but at least it's filled in.
Of course as with any DIY, especially on an old house, in repairing one hole, I ended up creating another, there was a fixing of some sort sticking out of the wall, just below the large hole which I had been filling in above, I kept catching the trowel on this fixing so thought I'd just be able to pull it out without much damage, so having tried to remove it with my fingers and having got nowhere I resorted to using a pair of pliers, and hence the new hole in the wall, seems the fixing had been in place for a very long time and had gone rusty and fused with the surrounding plaster.
This wasn't so much a filling exercise, more a make the hole bigger exercise, I'd realised that there was too much plaster that was still very loose. So I removed the loose plaster, in the process I ended up with huge deep cracks between the bricks, it's not easy to see in this picture, I didn't get to take a close up, but believe me at the top you could get you hand into the cracks between the bricks, don't worry the walls not going anywhere and doesn't bulge or anything.
