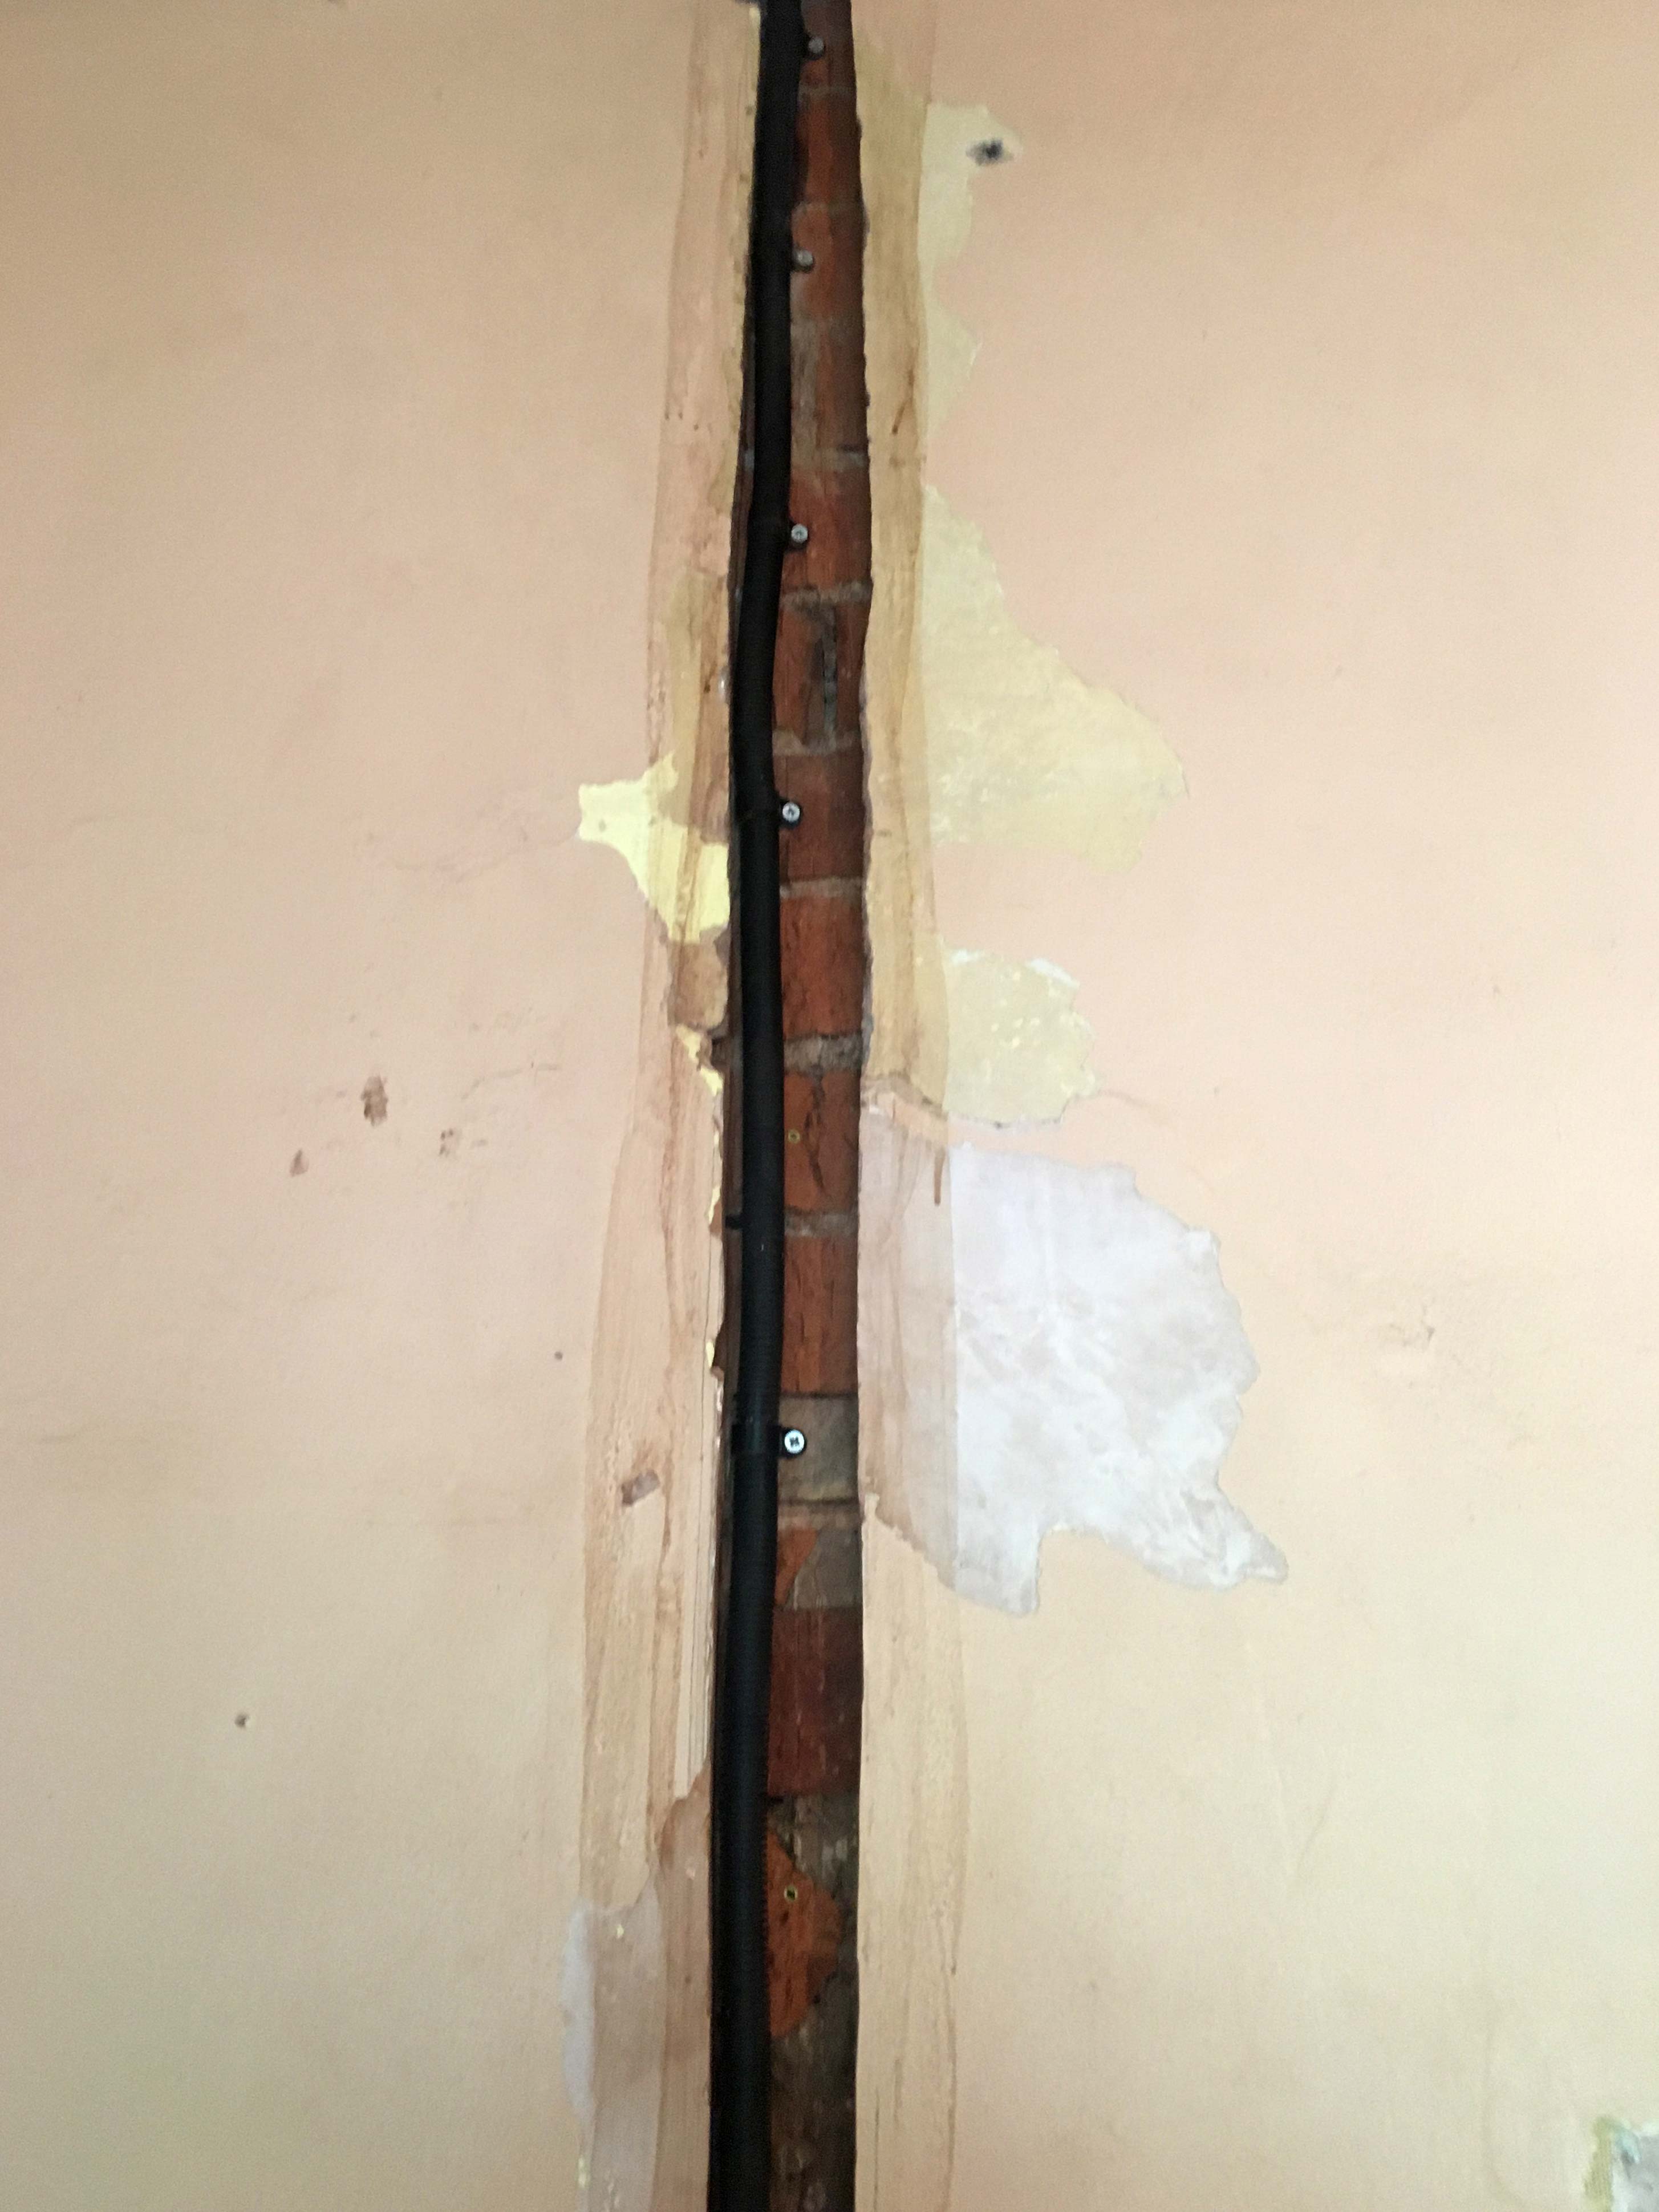
Just like the bedroom, when this room was rewired, to save time and expense, all the cabling was surface mounted in trunking, however, to make the completed room look as nice as possible I'm burying the cabling, there are only 2 existing sockets in the room so not much to cut for them, and with the angle grinder and these walls being brick it didn't take long to cut them so I could fit the conduit with the cables running inside the conduit, not much to show really, it didn't take long and wasn't very difficult. The only "problem" if it can be such a thing was the shear amount of dust created, fortunately I'd already isolated this part of the kitchen off from the rest of the house by taping heavy duty plastic sheeting over the knocked through wall, it was remarkably effective and there was no dust in the rest of the house. I'd taped up the door to the pantry and cupboard as well to keep them dust free.
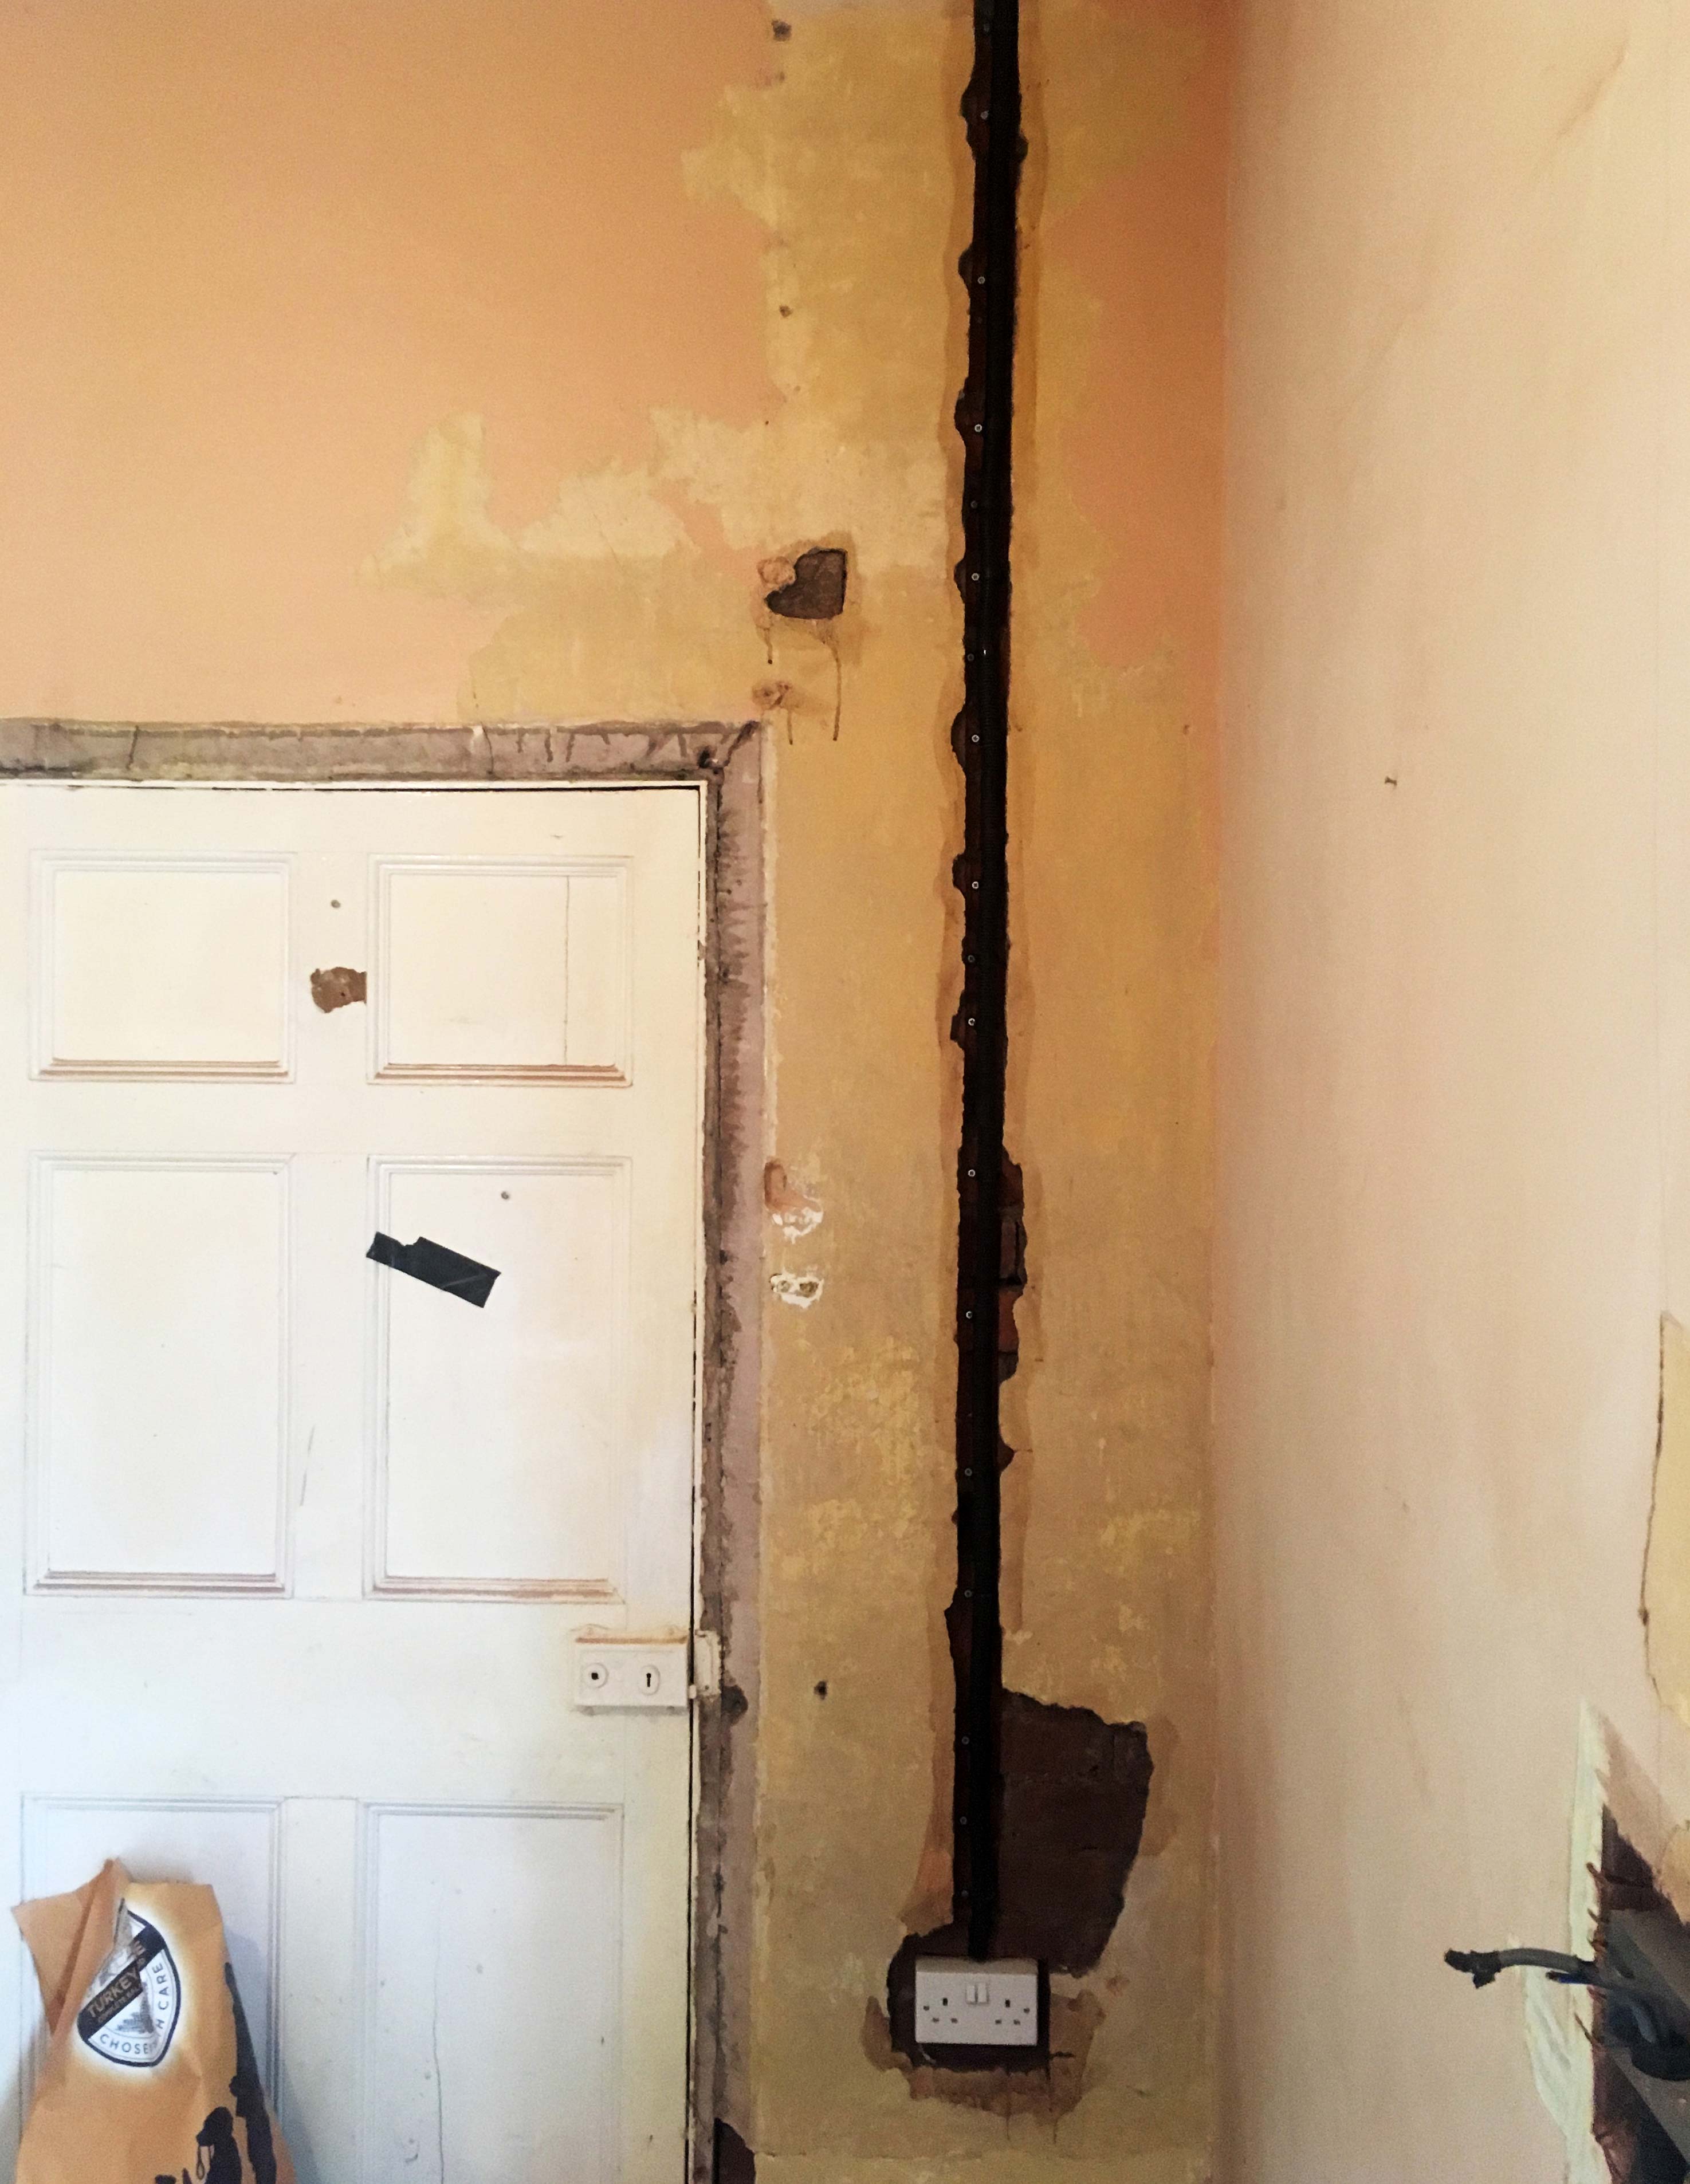
Just the other cable now in conduit and fised into the wall, only problem is I now need to move it, otherwise won't be able to plug the fridge back into it as there'll be a unit in front of it doh....
At this point I'd not removed the plaster over the door, but had removed the decorative part of the frame, turns out though that the plaster above the door was very loose, so it all had to come down, ahh the joy of renovating an old house...
Now the next bit of burying cabling turned out to be a far bigger challenge.
It all started so well, the first part, to the left on the image was brick and was easily cur with the angle grinder, however as I proceeded along the wall under the window, the brick was replaced with rock which proved to be a very tough nut to crack. Eventually I was able to cut enough of it away to bury the conduit properly, but not without a lot of extra work, essentially I had to cut many additional slices into the rock to thenm be able to chisel out what was left, without leaving very sharp edges, or having to try and chisel the solid rock where it was too shallow to bury the conduit.
The two images might give some clue as to the fun and games I had trying to cut the rock to a sufficient depth, turns out I needn't have done the cutting out in the first image as the socket will go at the back of the cabinet like it is now for the dishwasher. Image 1 & image 2.

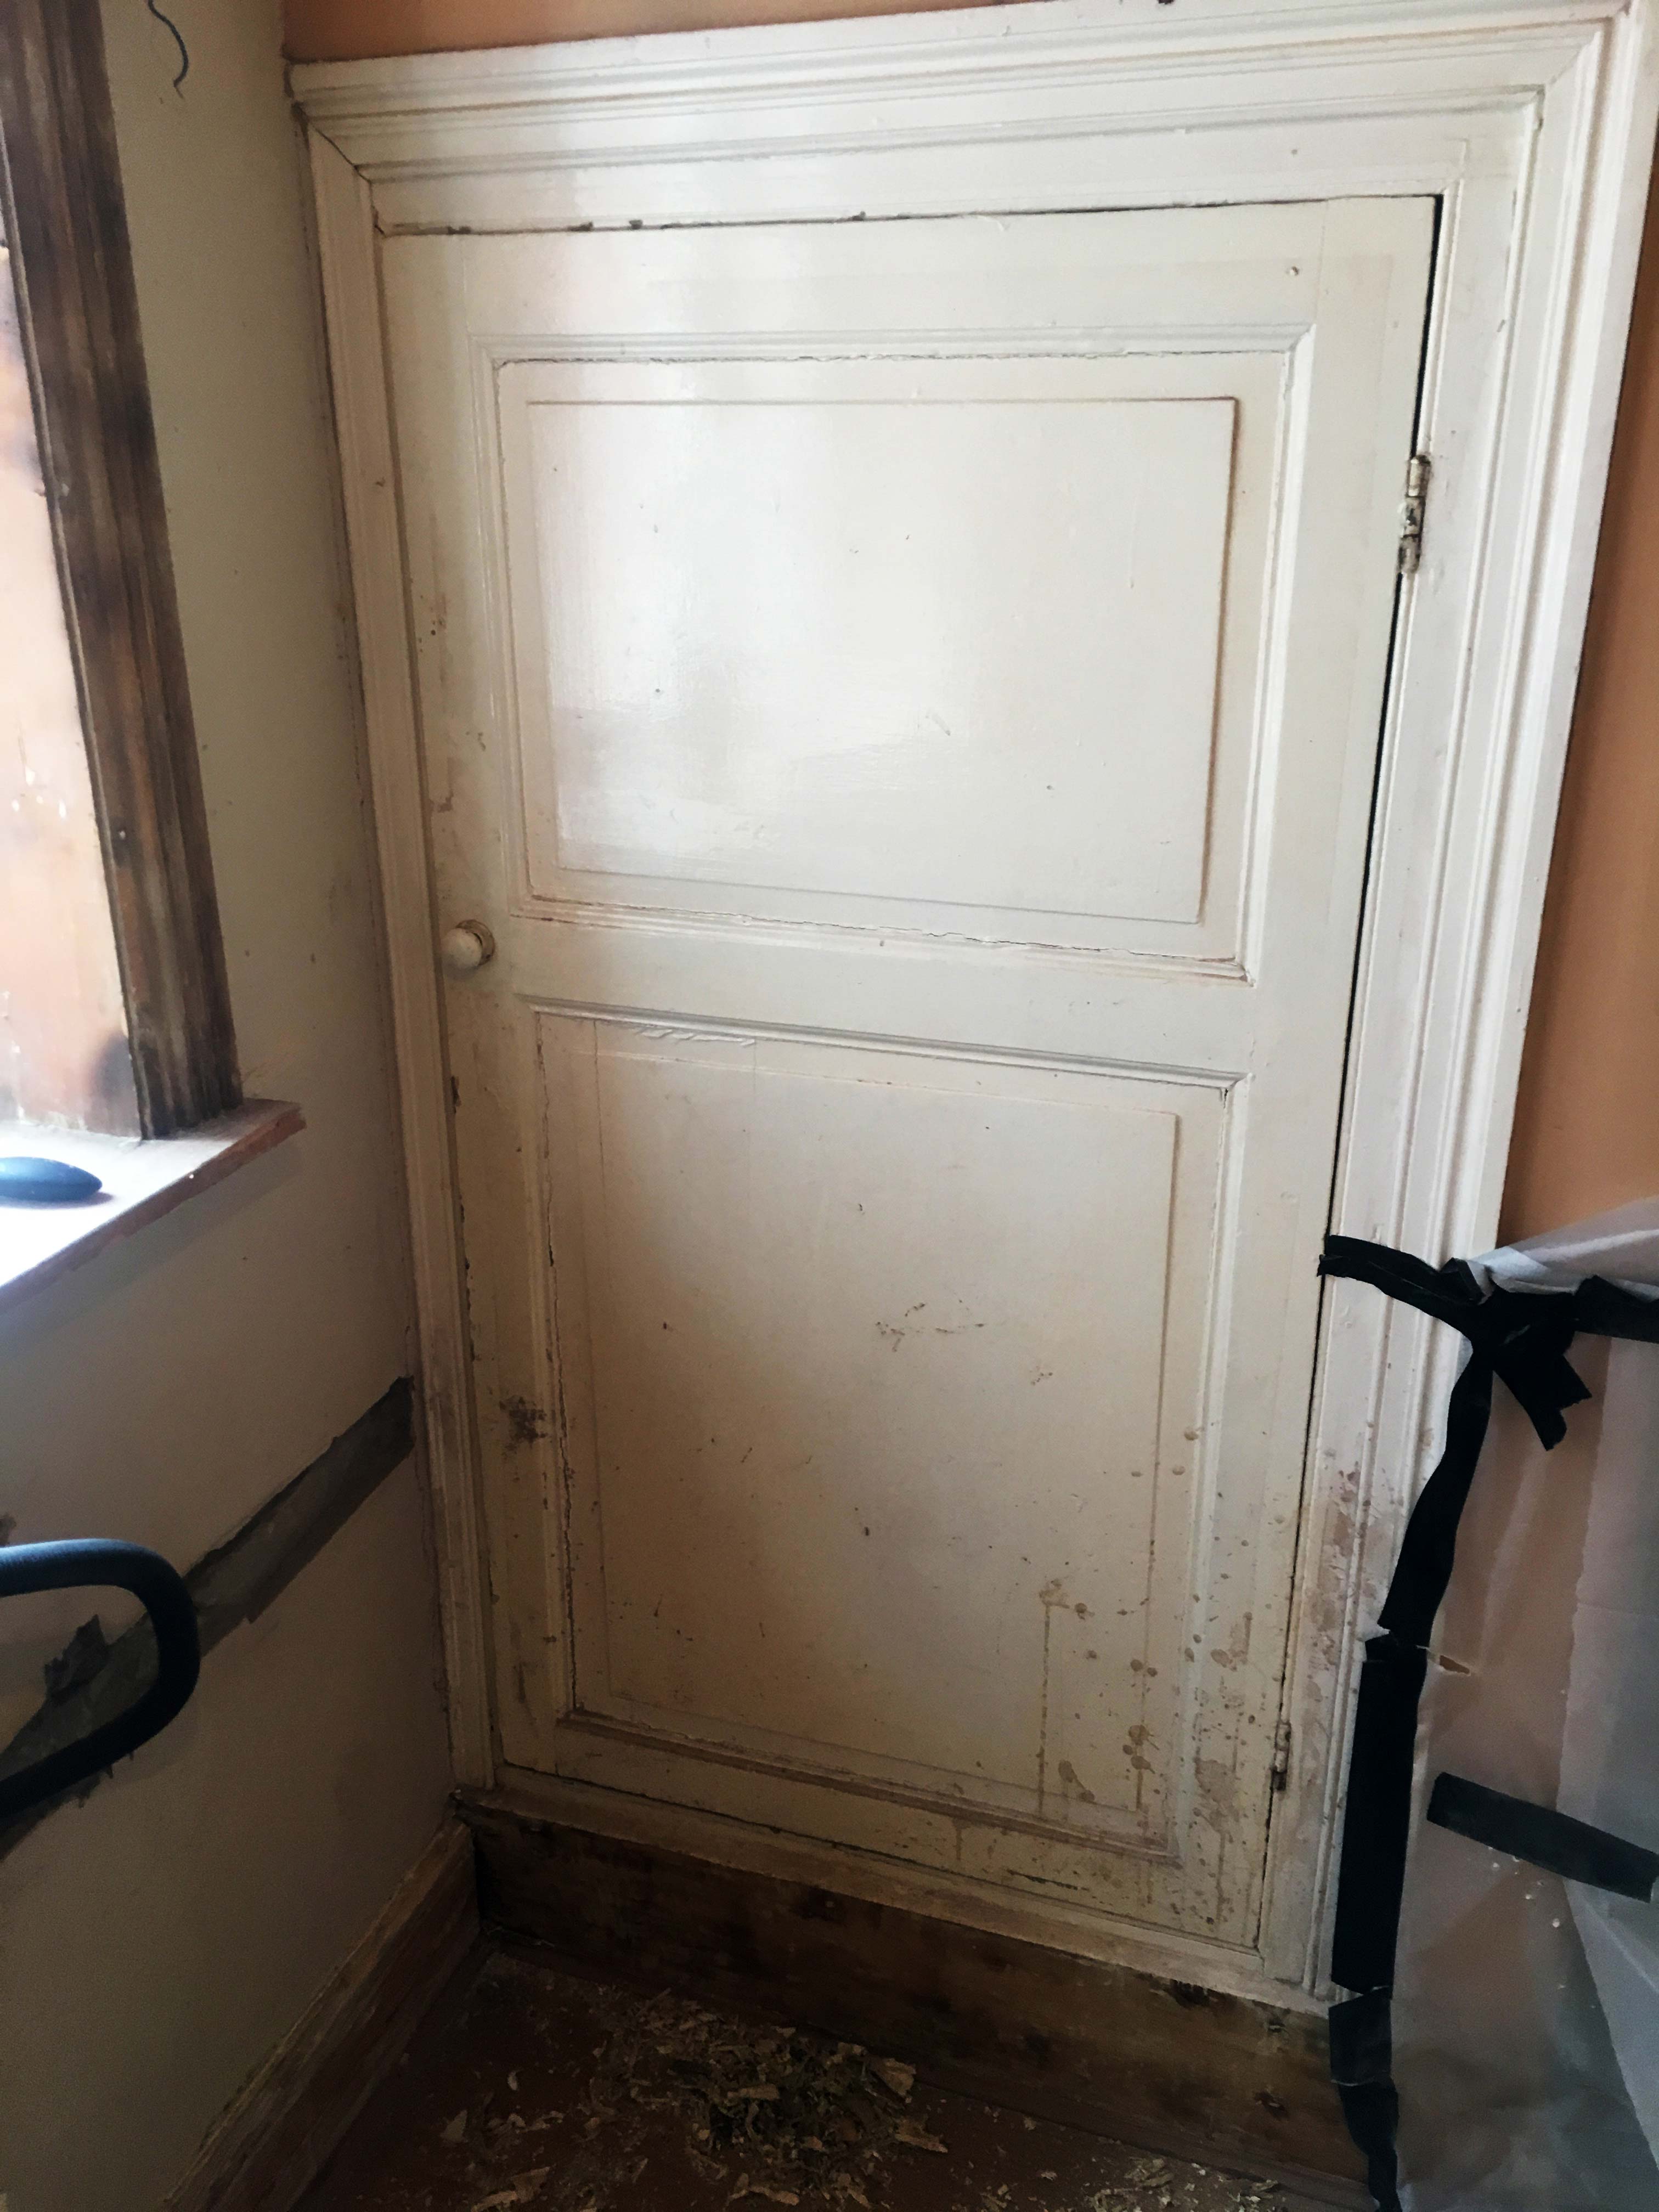
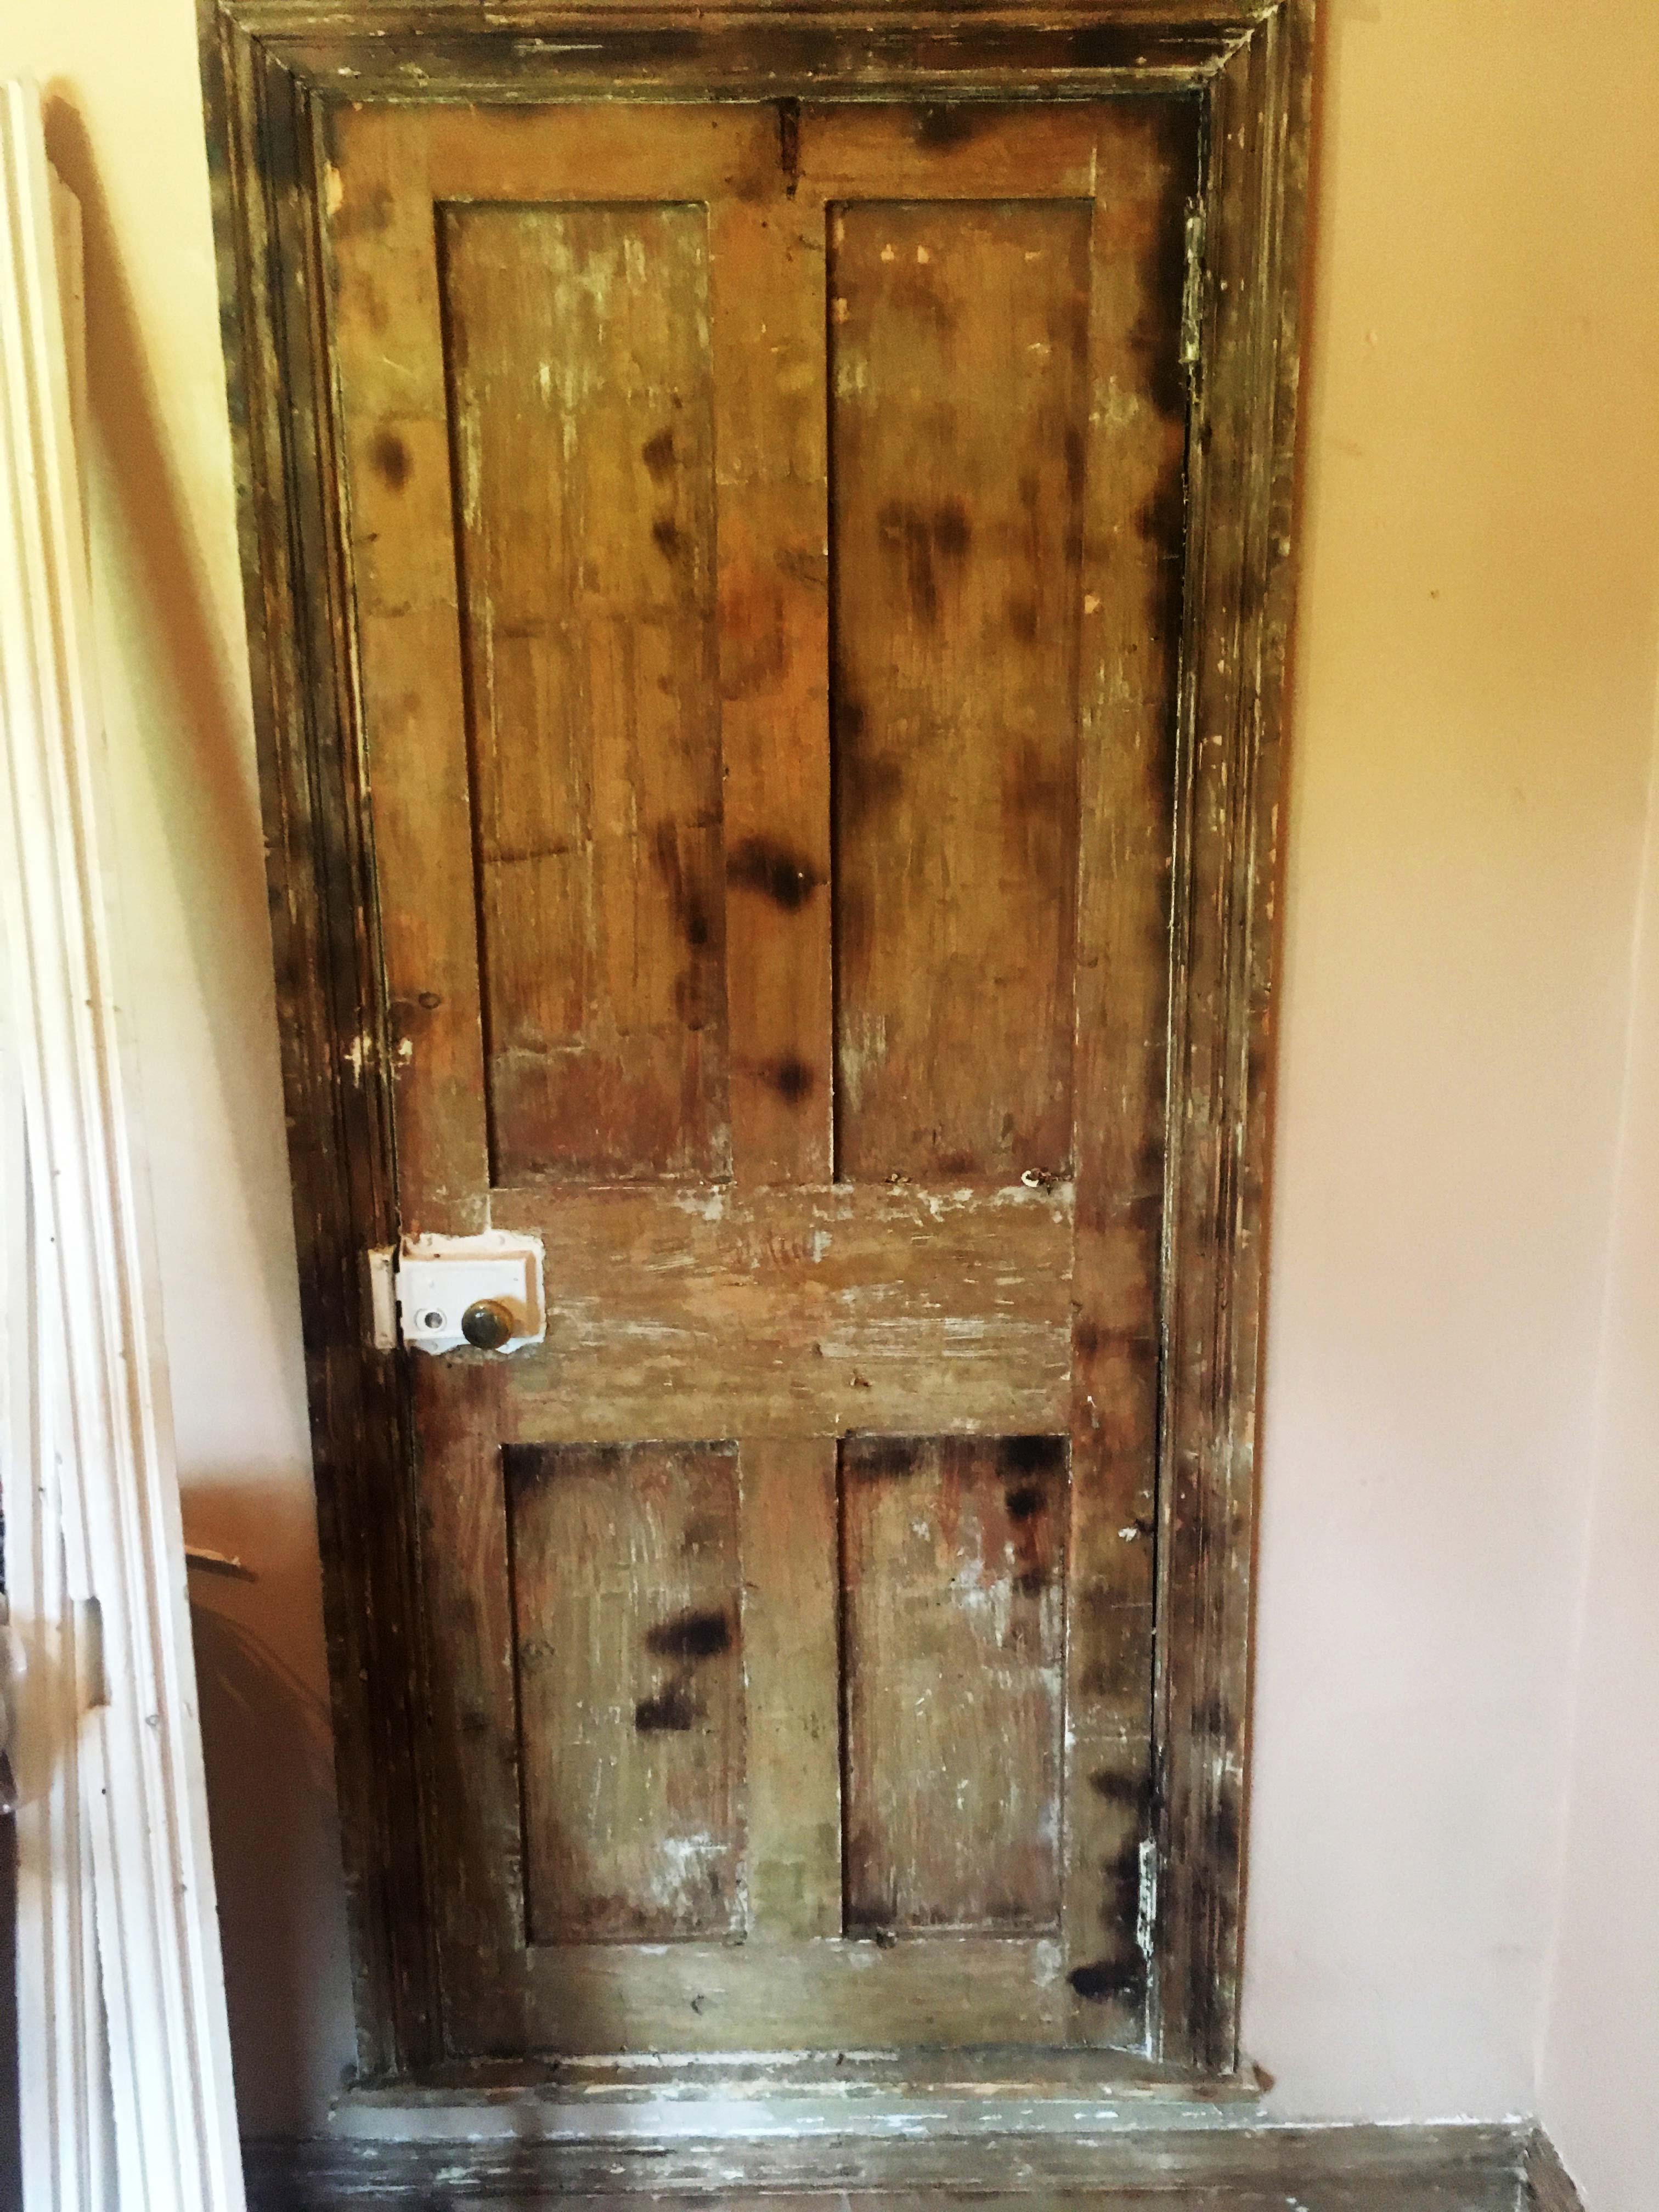
I think this folder contains work done between April and June, because I don't think I'd have had time/energy to put cable in conduit, then screw it to the wall and then strip the paint off the door, this is the little pantry door and since this will remian in use, I've stripped the paint off it, in preparation for sanding it down and eventually repainting it. Not much to say on this really, was done while hanging in position, but wasn't difficult to do.
Same goes for the skirting board, little fiddlier than the door, but nothing to onerous, didn't take a massive amount of care of the laminate as it will be removed once all the heavy duty work has been comlpeted to reveal the original red tiled floor. This bit is slightly interesting (at least to me) as the plaster above it is plasterboard, seems there was a door here as well in the past, not sure where to, it's either directly to the outside or part outside and part into the part of the property next door, anyway I've left it alone, and who knows how long it's been there.
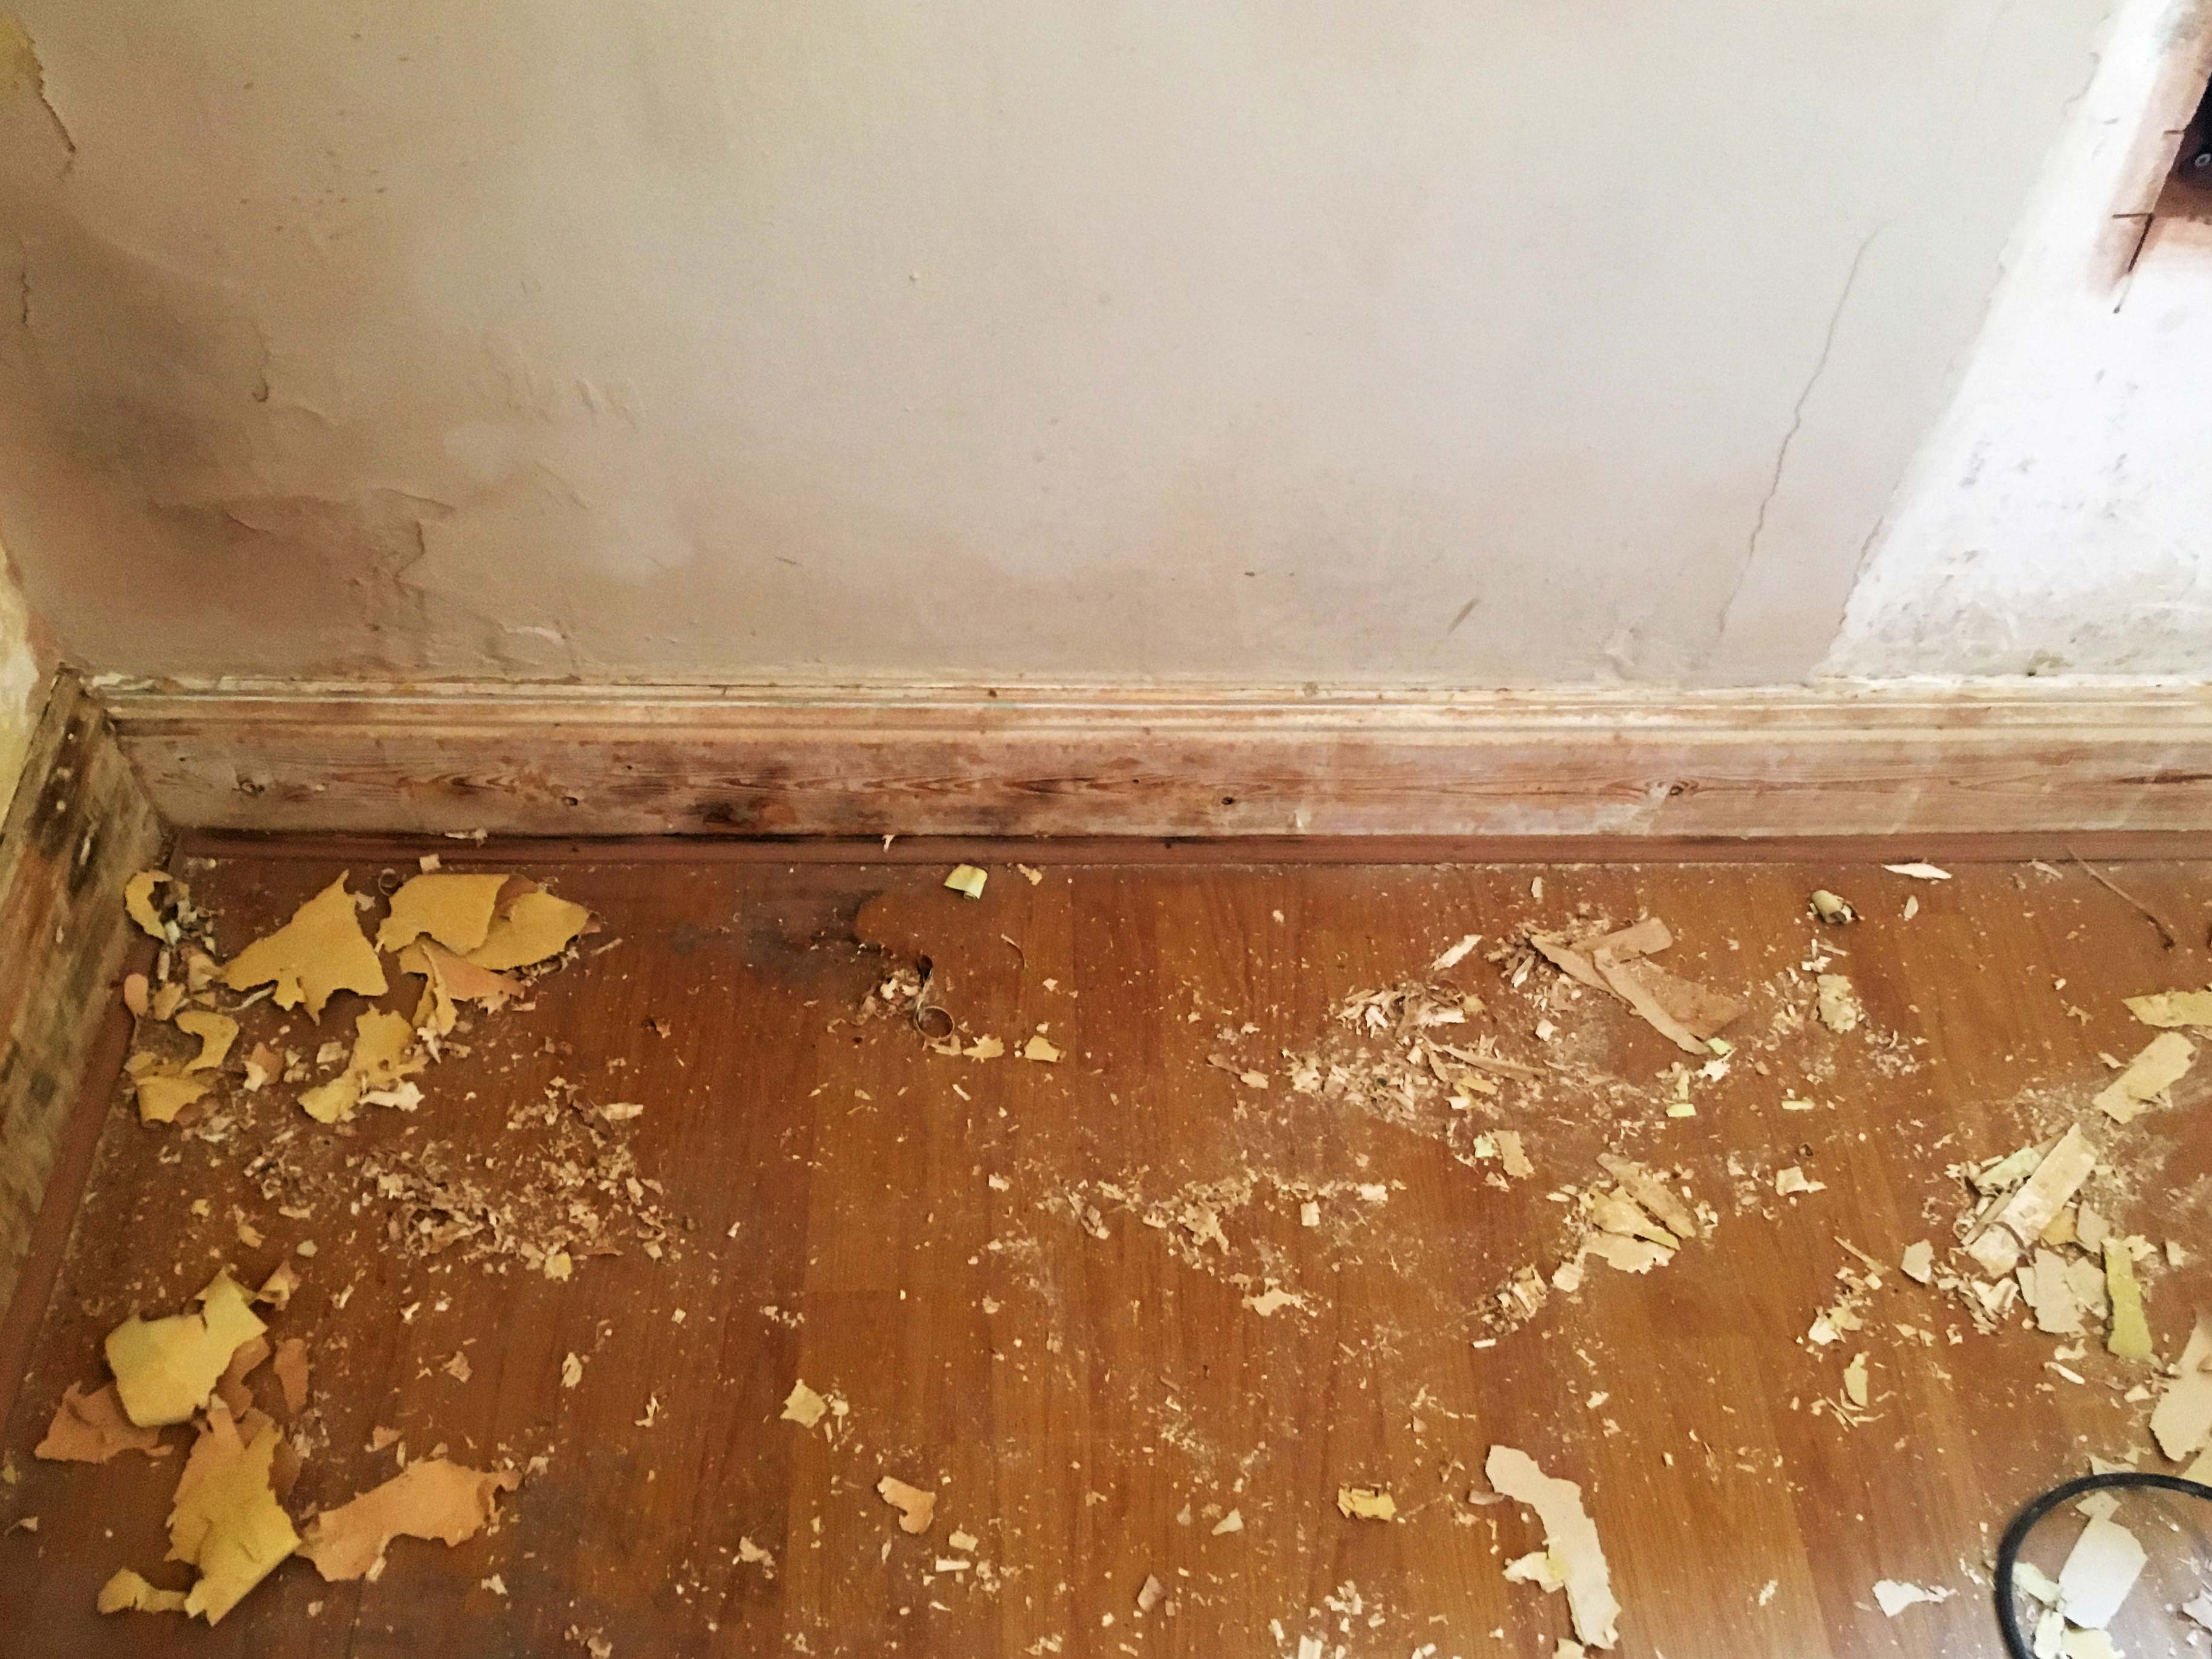
Last bit of this section, just showing the fact the skirting board here was a very simple design, i.e. plain flat, no pattern or shape to it at all, the door is the one to the cupboard built into the wall, eventually I'll remove the decorative part of the frame and then this will be plastered over like the other door so it "dissapears" into the wall.